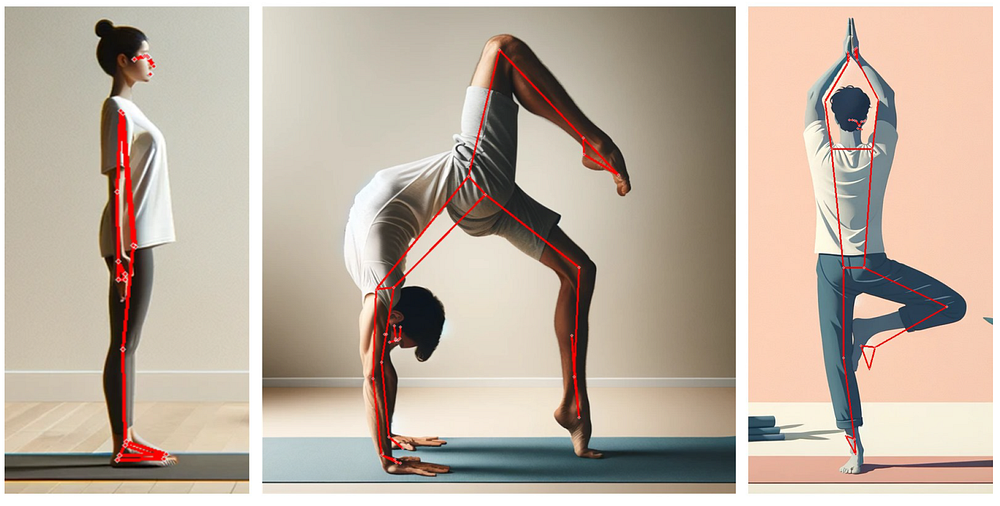
Yoga Pose Detection Project Using Resnet
Introduction:
Residual Networks, or ResNets, learn residual functions with reference to the layer inputs, instead of learning unreferenced functions. Instead of hoping each few stacked layers directly fit a desired underlying mapping, residual nets let these layers fit a residual mapping.

CODE 😃👇
from fastai.vision.all import *
import pandas as pd
import numpy as np
from pathlib import Path
# Step 1: Define the path to your dataset
# Replace ‘/path/to/dataset’ with the path where your dataset is located
dataset_path = Path(‘/path/to/yoga_pose_dataset’)
# Step 2: Prepare the Data
# Define a DataBlock for yoga pose classification
data_block = DataBlock(
blocks=(ImageBlock, CategoryBlock), # For image classification
get_items=get_image_files, # Fetch all image files
splitter=RandomSplitter(valid_pct=0.2, seed=42), # 80–20 train-validation split
get_y=parent_label, # Use folder names as labels
item_tfms=Resize(224), # Resize images to 224x224
batch_tfms=aug_transforms(mult=2.0) # Data augmentations
)
# Step 3: Create DataLoaders
# Load the images and create dataloaders
dls = data_block.dataloaders(dataset_path, bs=64) # Adjust batch size if needed
# Optional: View a batch of images
dls.show_batch(max_n=9, figsize=(7, 6))
# Step 4: Load a Pretrained Model and Train
# Define a FastAI learner with ResNet50
learn = cnn_learner(dls, resnet50, metrics=accuracy)
# Fine-tune the model
learn.fine_tune(5) # You can adjust the number of epochs
# Step 5: Evaluate the Model
# Interpret results
interp = ClassificationInterpretation.from_learner(learn)
interp.plot_confusion_matrix(figsize=(10, 10), dpi=80)
# Step 6: Testing with a Custom Image
# Load an image for testing
img_path = ‘/path/to/test_image.jpg’ # Replace with path to your test image
img = PILImage.create(img_path)
# Predict the class of the image
pred_class, pred_idx, outputs = learn.predict(img)
print(f”Predicted class: {pred_class}”)


.jpg)

No comments:
Post a Comment